|
In this tutorial, we shall discuss how to use the free Computer Algebra System (CAS) maxima from TeXmacs. It should be valid for TeXmacs-1.0.5 and maxima-5.9.2.
Let's start TeXmacs. We shall use the package framed-session:
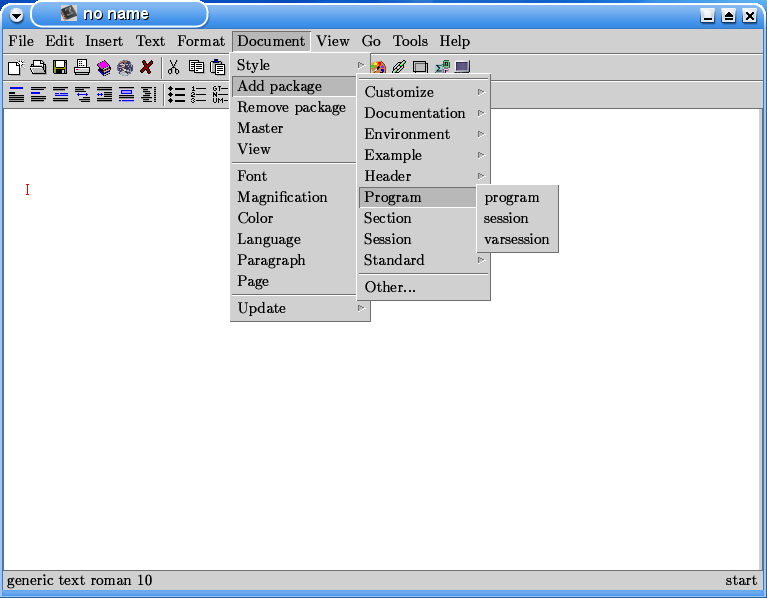
This is not strictly necessary, but interactive sessions look nicer
with it. We shall also use
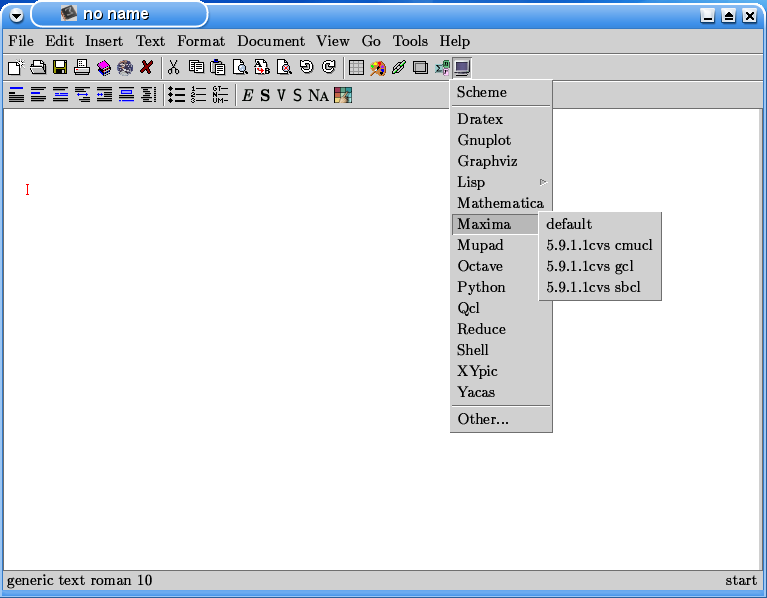
Now we shall start one of the versions of maxima installed:
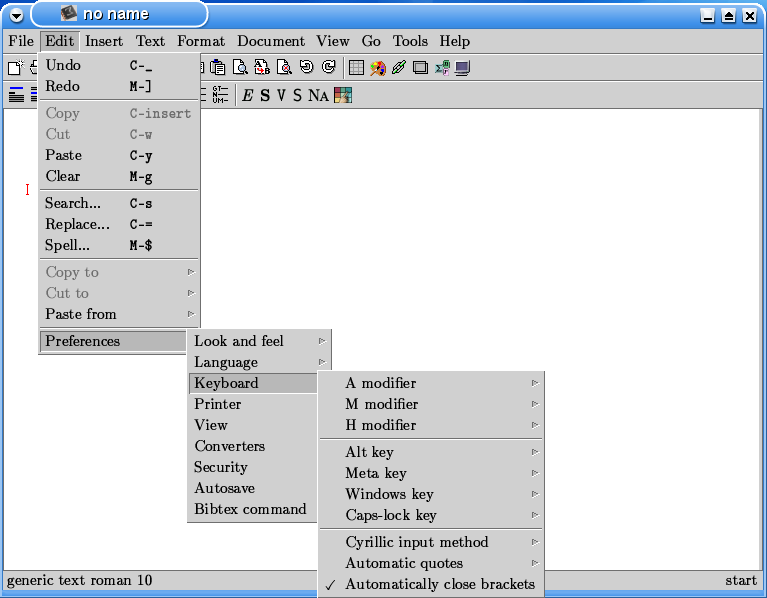
Also we shall tick
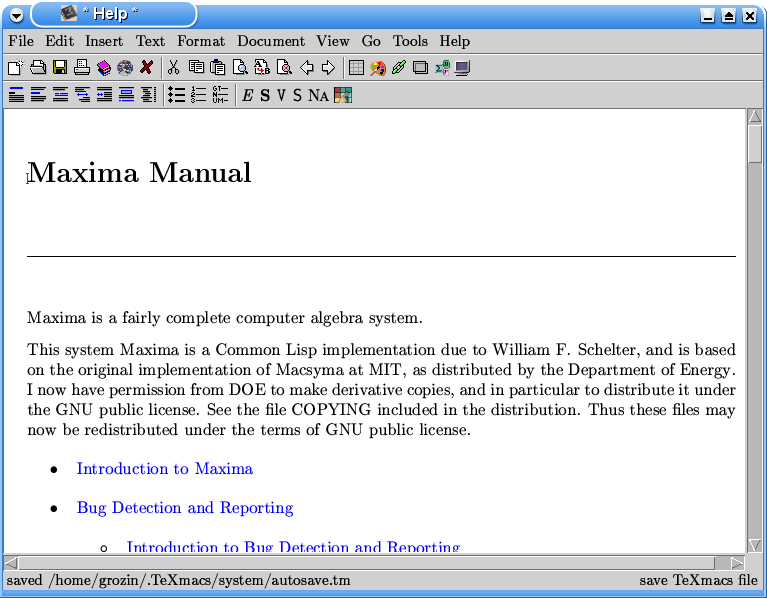
If you click the icon looking like “?” on the toolbar, TeXmacs will show the maxima manual:
It is convenient to clone the window:
Then, in one of the windows you return to the buffer which contains
the maxima session (in this case, this buffer is called
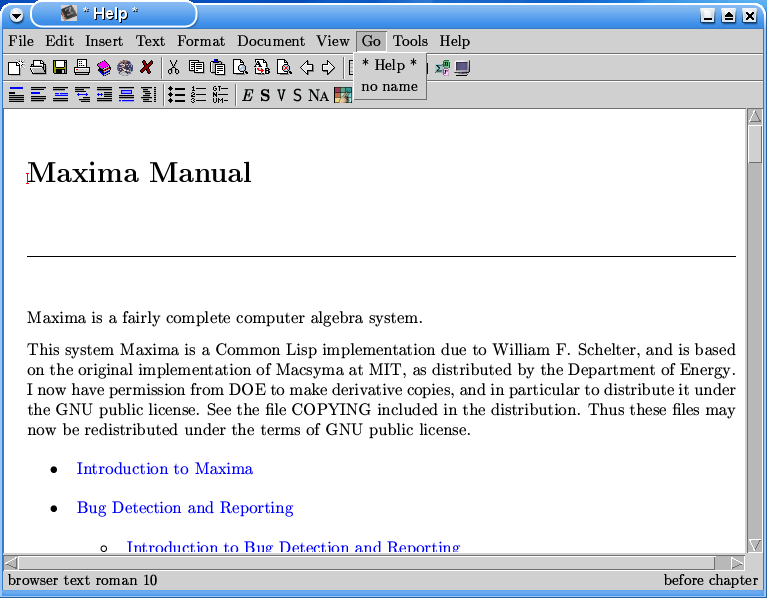
In the other window, you can read the manual. Blue texts are hyperlink; clicking them displays the corresponding sections of the manual.
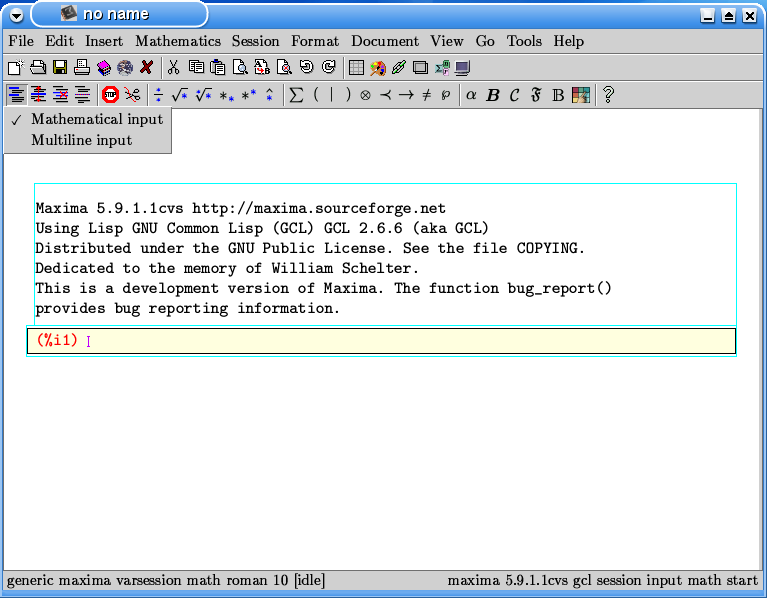
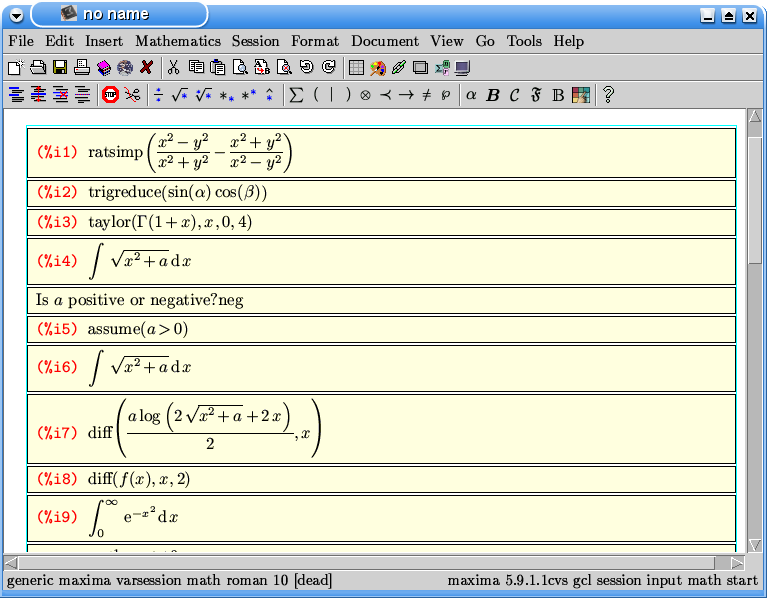
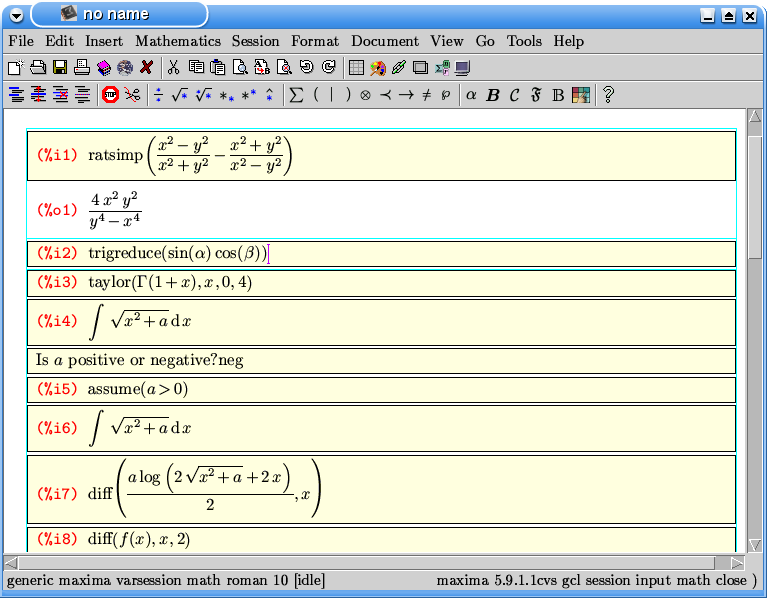
Everything is ready for doing calculations. Usual methematical
notations can be used for input expressions to a large extent. Don't
forget to use *
for multiplication; it is not visible, just produces a little space.
Powers are produced using the toolbar or ^; fractions – by the toolbar or Alt+F; square roots
– by the toolbar or Alt+S;
large (automatically resizable) brackets – by ? (note that with
our settings this produces both the opening bracket and the closing
one, and the cursor is left between them). You can use greek letters.
For example,  can be produced via the toolbar,
by Hyper+A
(see help for the meaning of the modifier hyper), or by ATab.
can be produced via the toolbar,
by Hyper+A
(see help for the meaning of the modifier hyper), or by ATab.
 means the -function;
 means … what would you think? …
;
means … what would you think? …
;  means the Euler
constant;
means the Euler
constant;  means the Riemann -function.
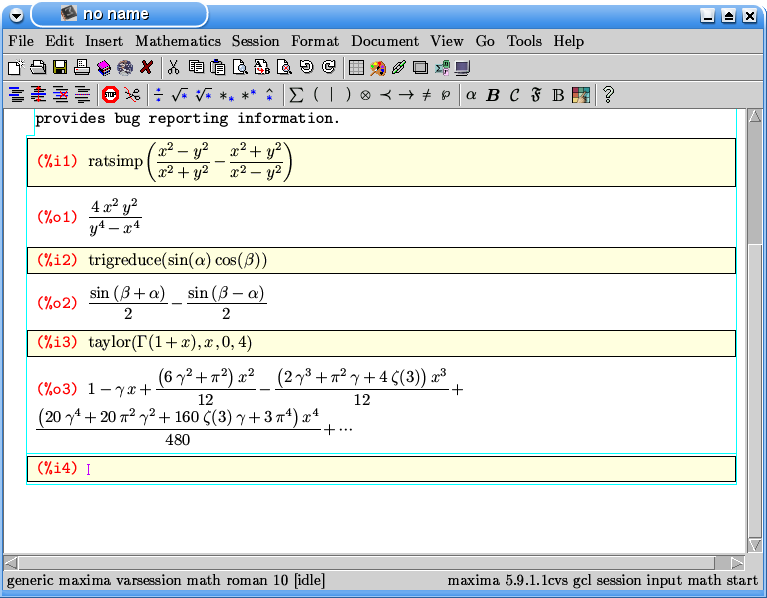
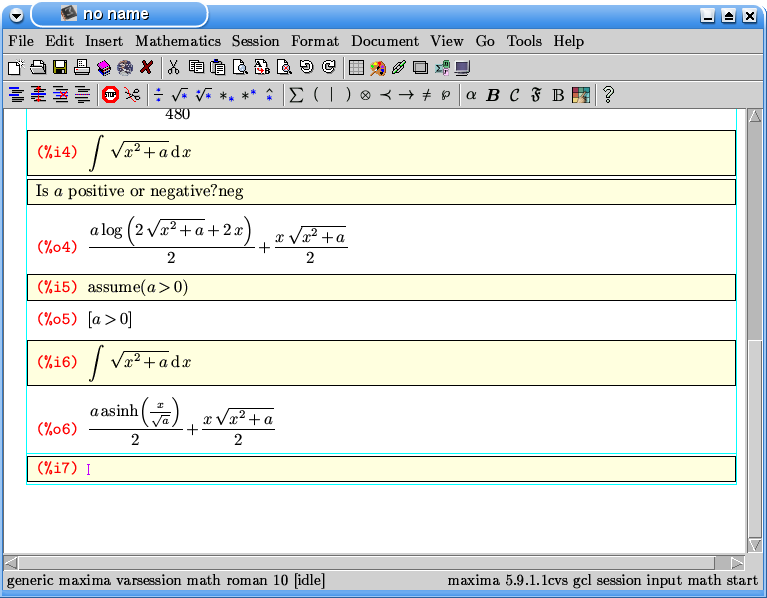
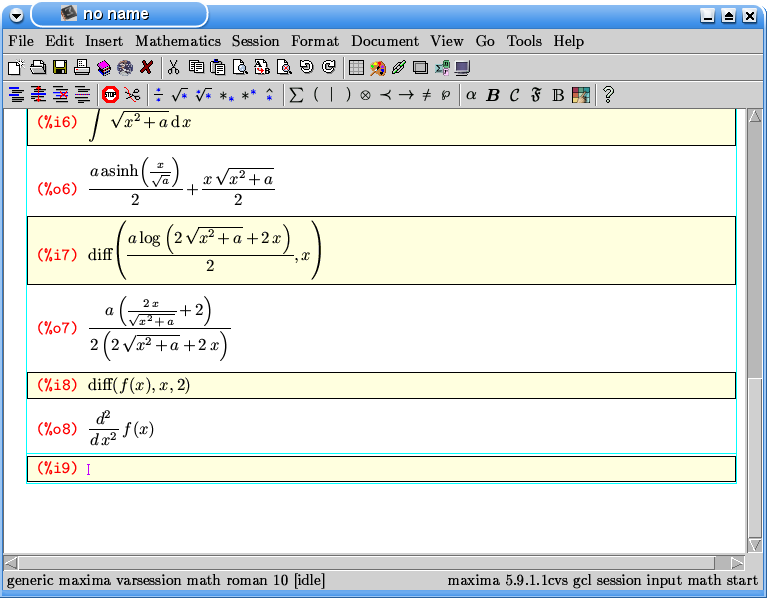
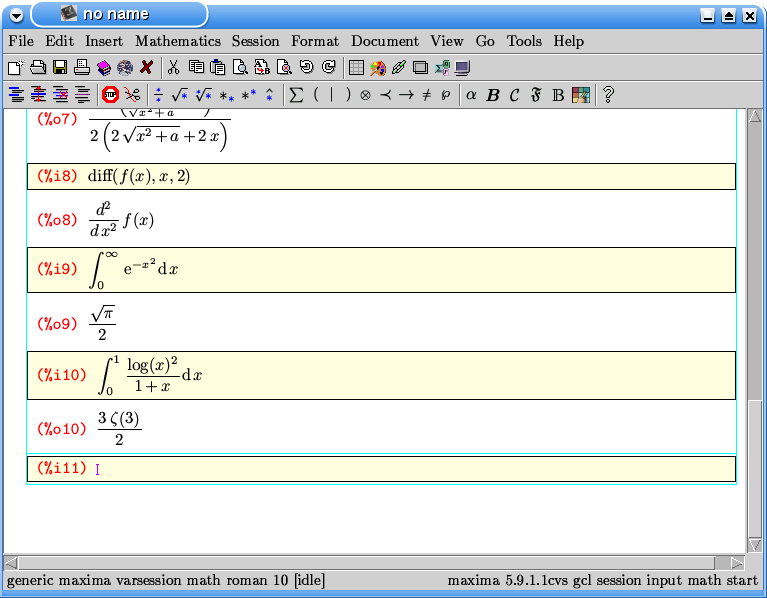
The integral sign is produced via the toolbar or by Shift+F5Shift+I. If it has limits, it means a definite integral, otherwise indefinite. Then you write your integrand, then a space, the differential sign (produced by DTabTab), a space, and your integration variable. The form of the result often depends on parameters; in such cases, maxima asks questions. If you don't want such interactive queries, you can provide the relevant information beforehand.
You can select some (part of) an output field with the mouse:
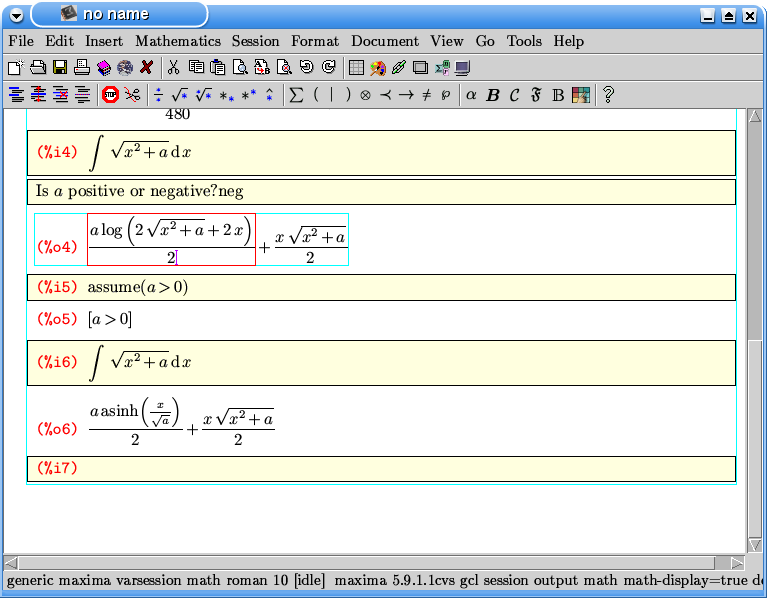
Then click on an input line, and click with the middle mouse button. The selected expression is inserted. You can edit it and execute.
It is also possible to go to an earlier input line, edit it and press enter. The old output below this line will be replaced by the new one. This is very useful during the first stage of your work, when you investigate various possible approaches. Using this method too often leads to a spaghetti-like set of input and output lines, which is difficult to understand; it is even difficult to reproduce your calculation later.
Here are some definite integrals. The base of natural logarithms  is produced via the toolbar or by ETabTab, and the
infinity symbol – via the toolbar or by @@.
is produced via the toolbar or by ETabTab, and the
infinity symbol – via the toolbar or by @@.
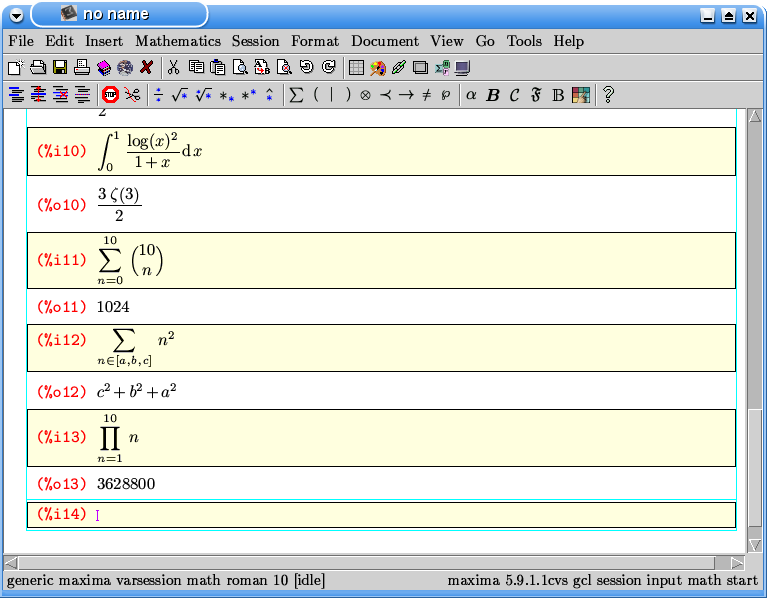
Sums are similar to integrals. In addition to sums with a lower limit
and an upper one, maxima understands sums with a lower limit like  , where the symbol
  is
produced by \INenter.
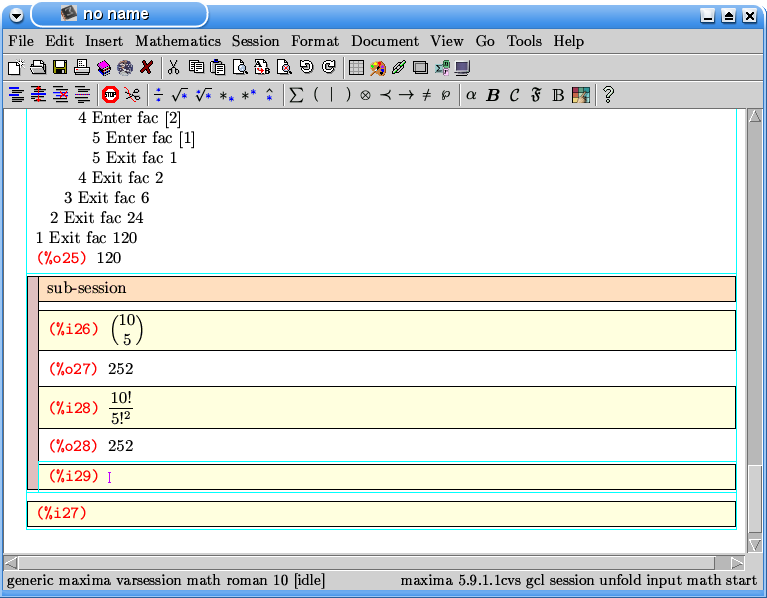
Products are also similar. Binomial coefficients are produced by \BINOMenter. They look
like matrices, but differ from them! Therefore, don't try to create
them via the toolbar menu for matrices and other kinds of tables.
is
produced by \INenter.
Products are also similar. Binomial coefficients are produced by \BINOMenter. They look
like matrices, but differ from them! Therefore, don't try to create
them via the toolbar menu for matrices and other kinds of tables.
Note a subtle point: the integral sign (or the sum or product sign) is
considered as a kind of an “opening bracket”, and there is
the corresponding “closing bracket”, which is invisible,
but it shows where your integral ends. You can see it in the 
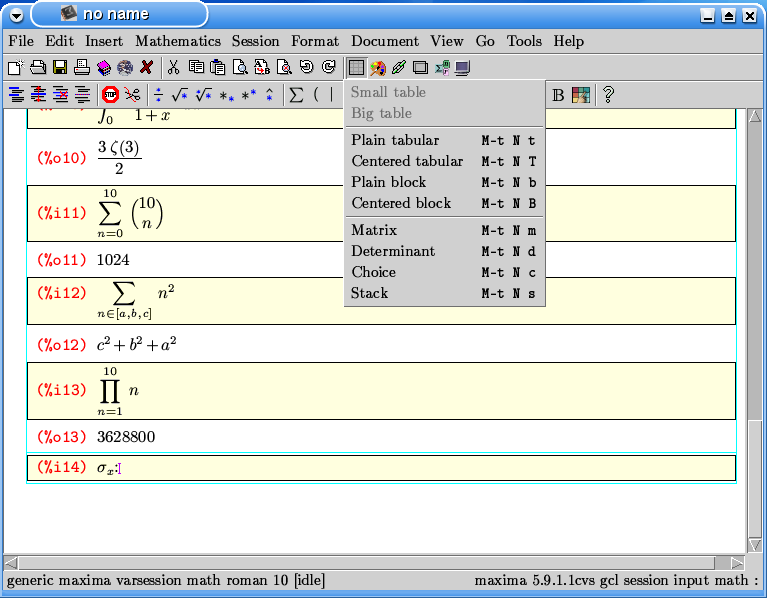
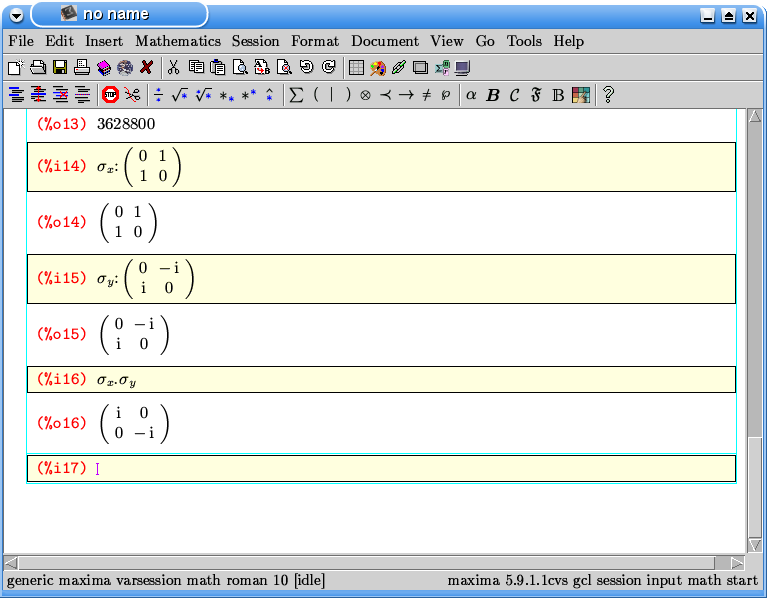
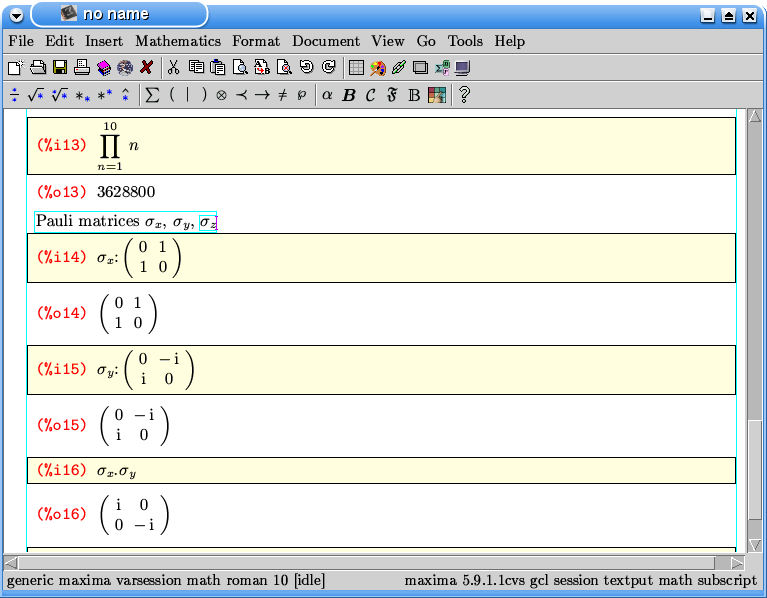
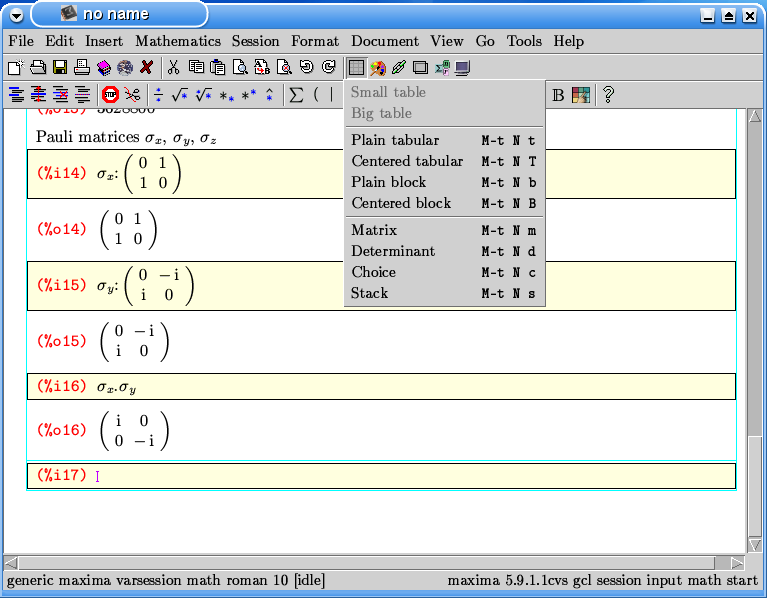
Maxima understands matrices and determinants. They are produced via
the toolbar. New columns and rows are inserted by Meta+ , Meta+
 ,
Meta+
,
Meta+ ,
Meta+
,
Meta+ .
The imaginary unit
.
The imaginary unit  is produced via the toolbar
or by ITabTab.
is produced via the toolbar
or by ITabTab.
You can inserted some text explaining an input line. To this end,
placing the cursor on this input line, select
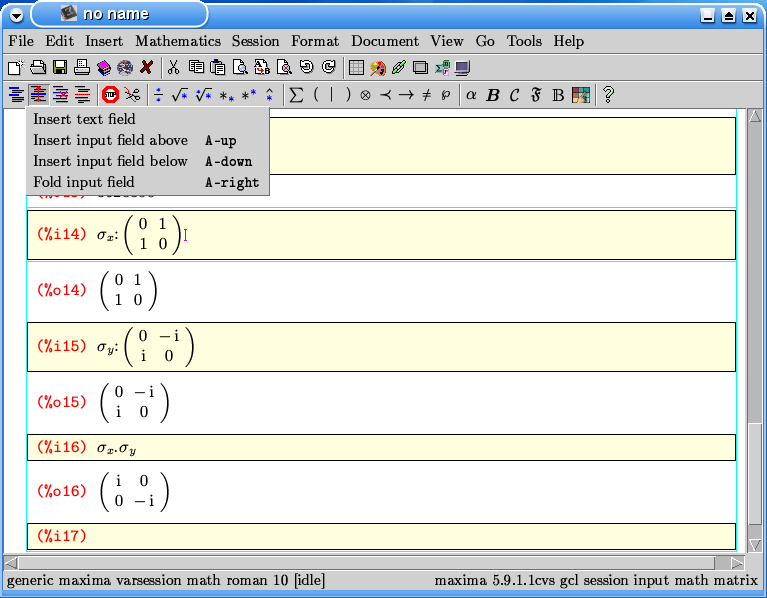
Naturally, this explanation text can be as long as you need, and it can contain mathematical formulae.
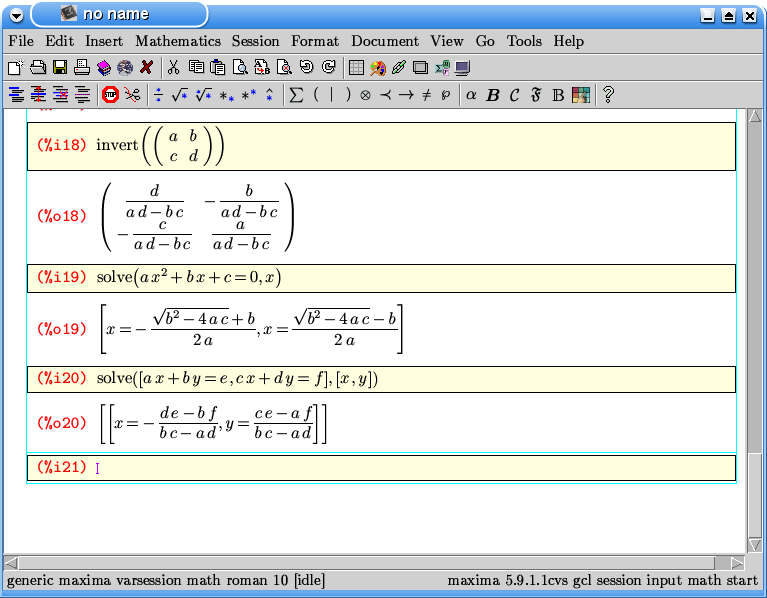
And here is a determinant.
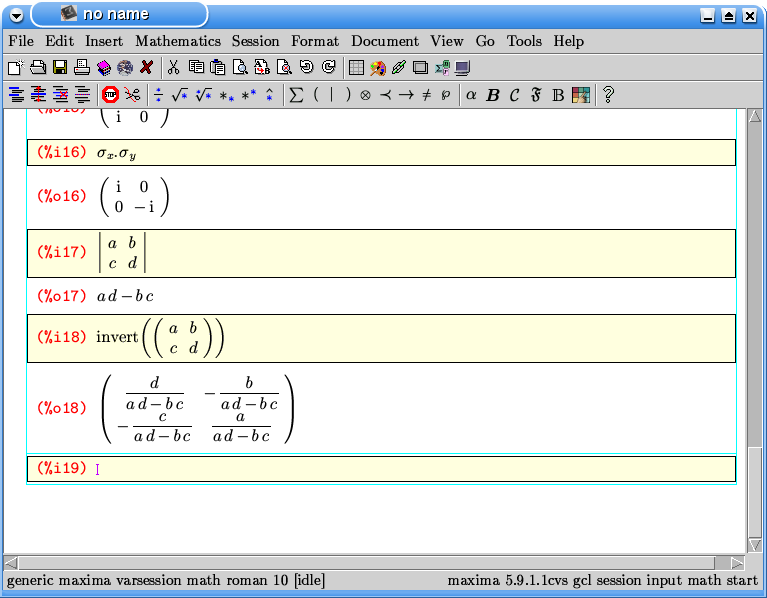
Maxima can solve equations and systems of equations. It returns the list of solutions.
Here we define and plot the function  where
where
 .
.
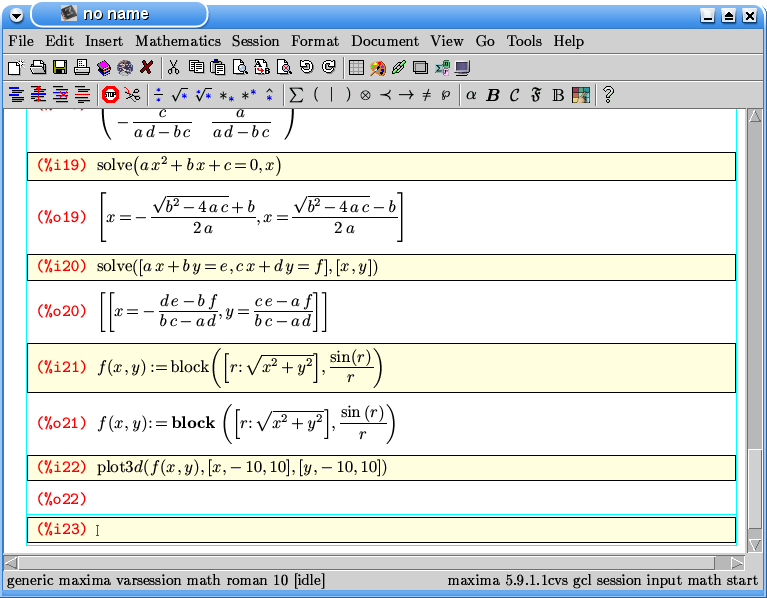
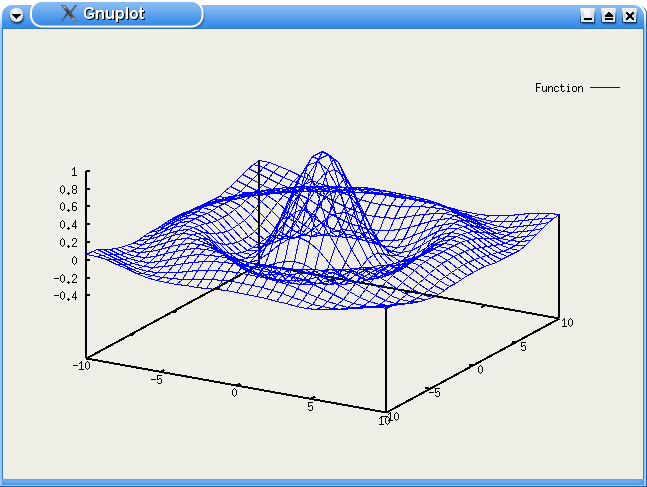
The plot appears in a separate gnuplot window:
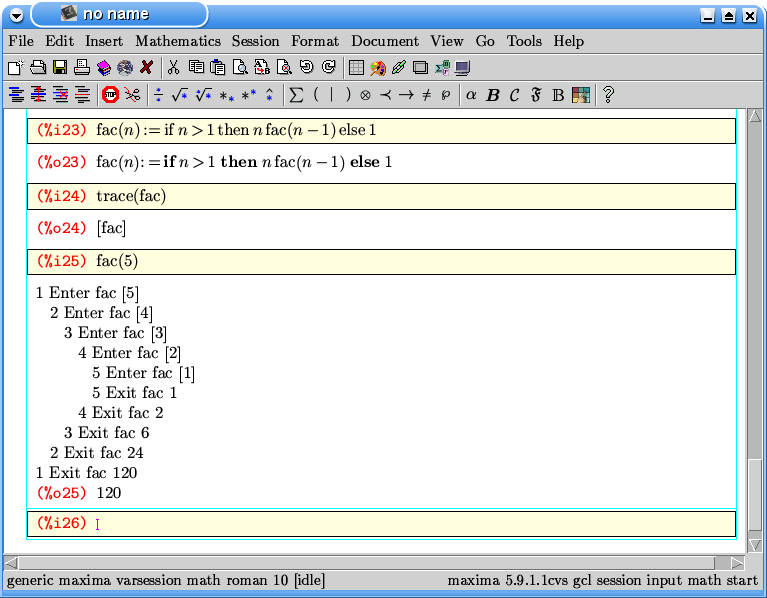
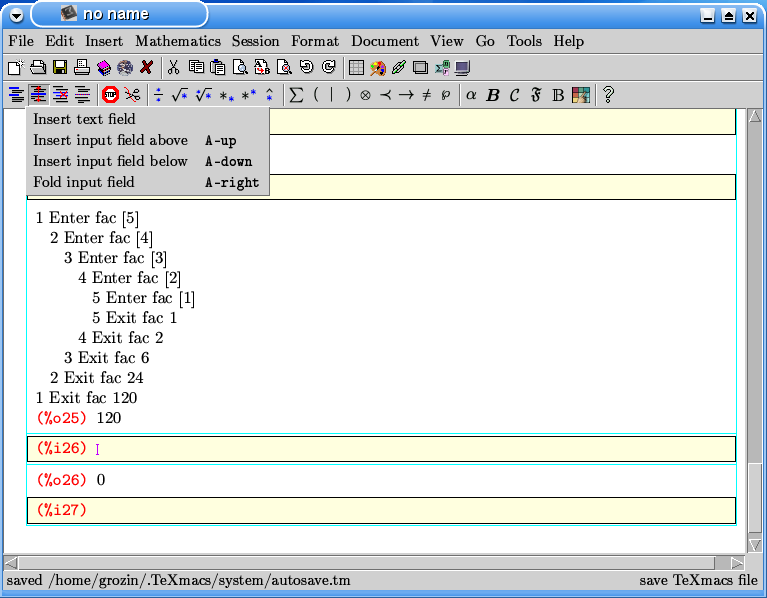
Here we define a recursive function and trace its execution.
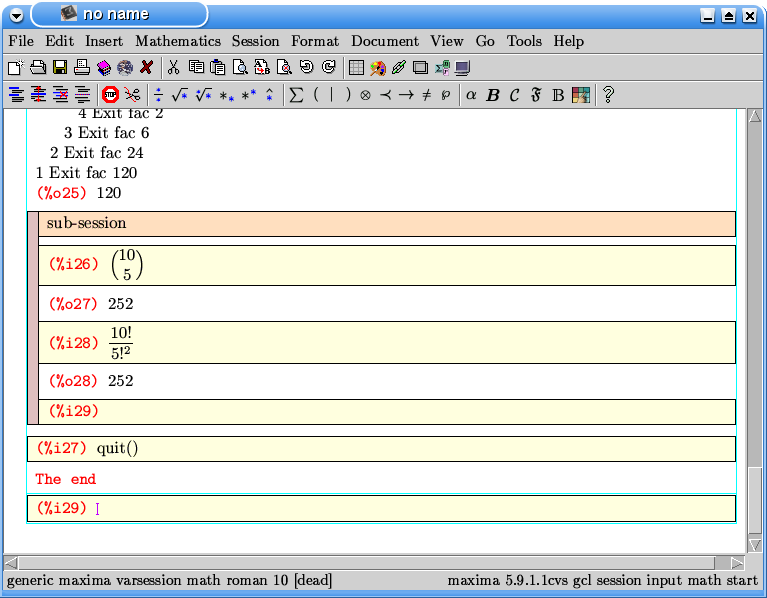
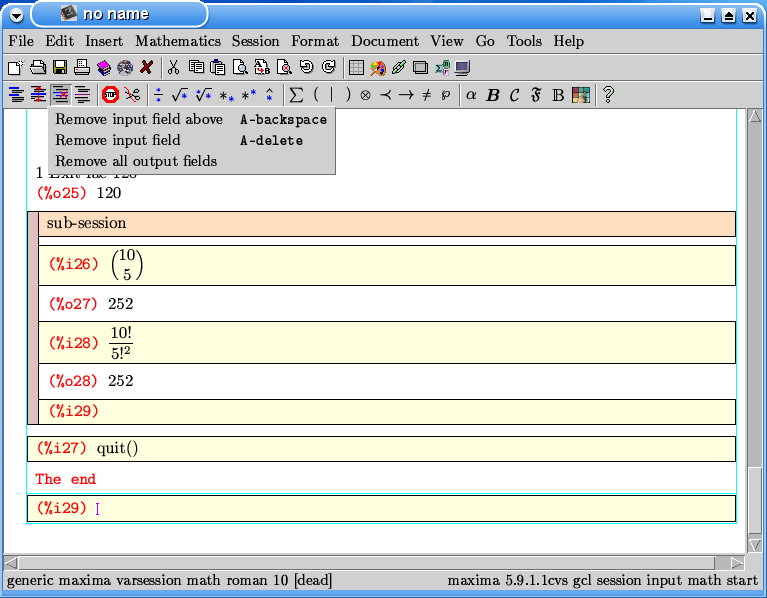
You can create a “sub-session” within the maxima session.
With the cursor on an input line, select
A sub-session appears; you can edit its title:
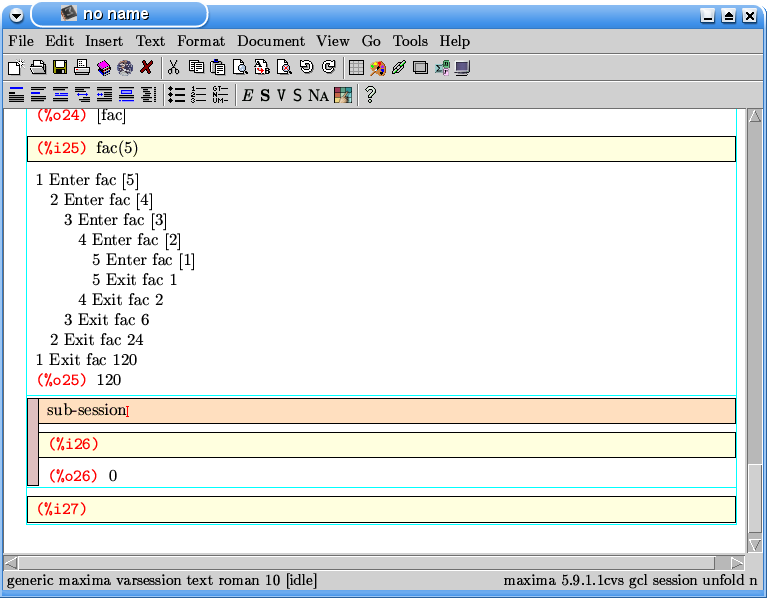
You can work within this sub-session; it has its own current input line.
If you dowble-click on the left bar of the sub-session, it gets folded:
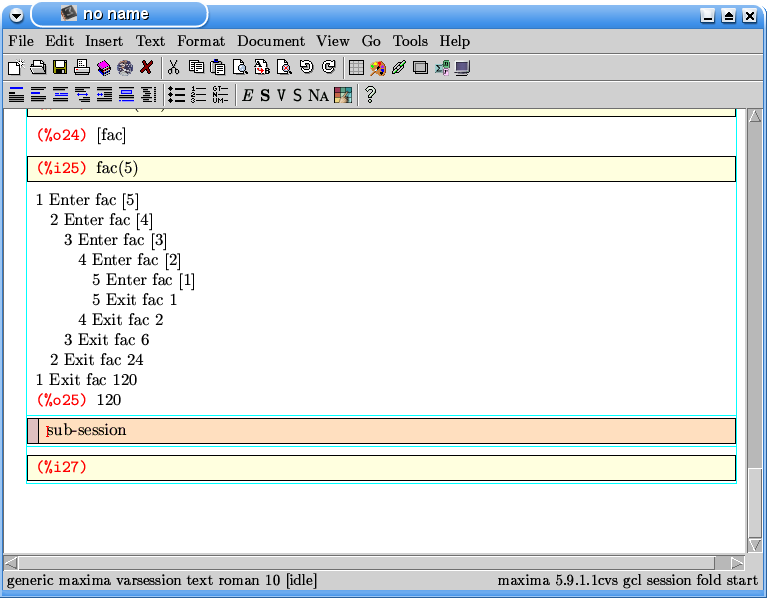
Now only its title is visible. This is convenient for long sub-calculations of your project: you can fold them all, and see only the skeleton of your calculation. Sub-sessions can be nested. You can unfold them by double-clicking once more.
Finally, we quit maxima:
If you give a presentation, it is convenient to select
All output lines disappear.
It suffices to press enter on an input line, and maxima will be re-started. The results will be produced in the presence of your audience, just by pressing enter many times.
Of course, you can save your work as a .tm file. Next time you start TeXmacs to edit this file, just press enter at the first input line to re-start maxima.